Project Proxmox Home Server Part 1: Hardware and Initial Setup
I’ve decided to build a more sophisticated setup for my home server to replace my existing mini PC running Proxmox and document the process in this blog. In this first post, I will dive into the hardware I have selected.
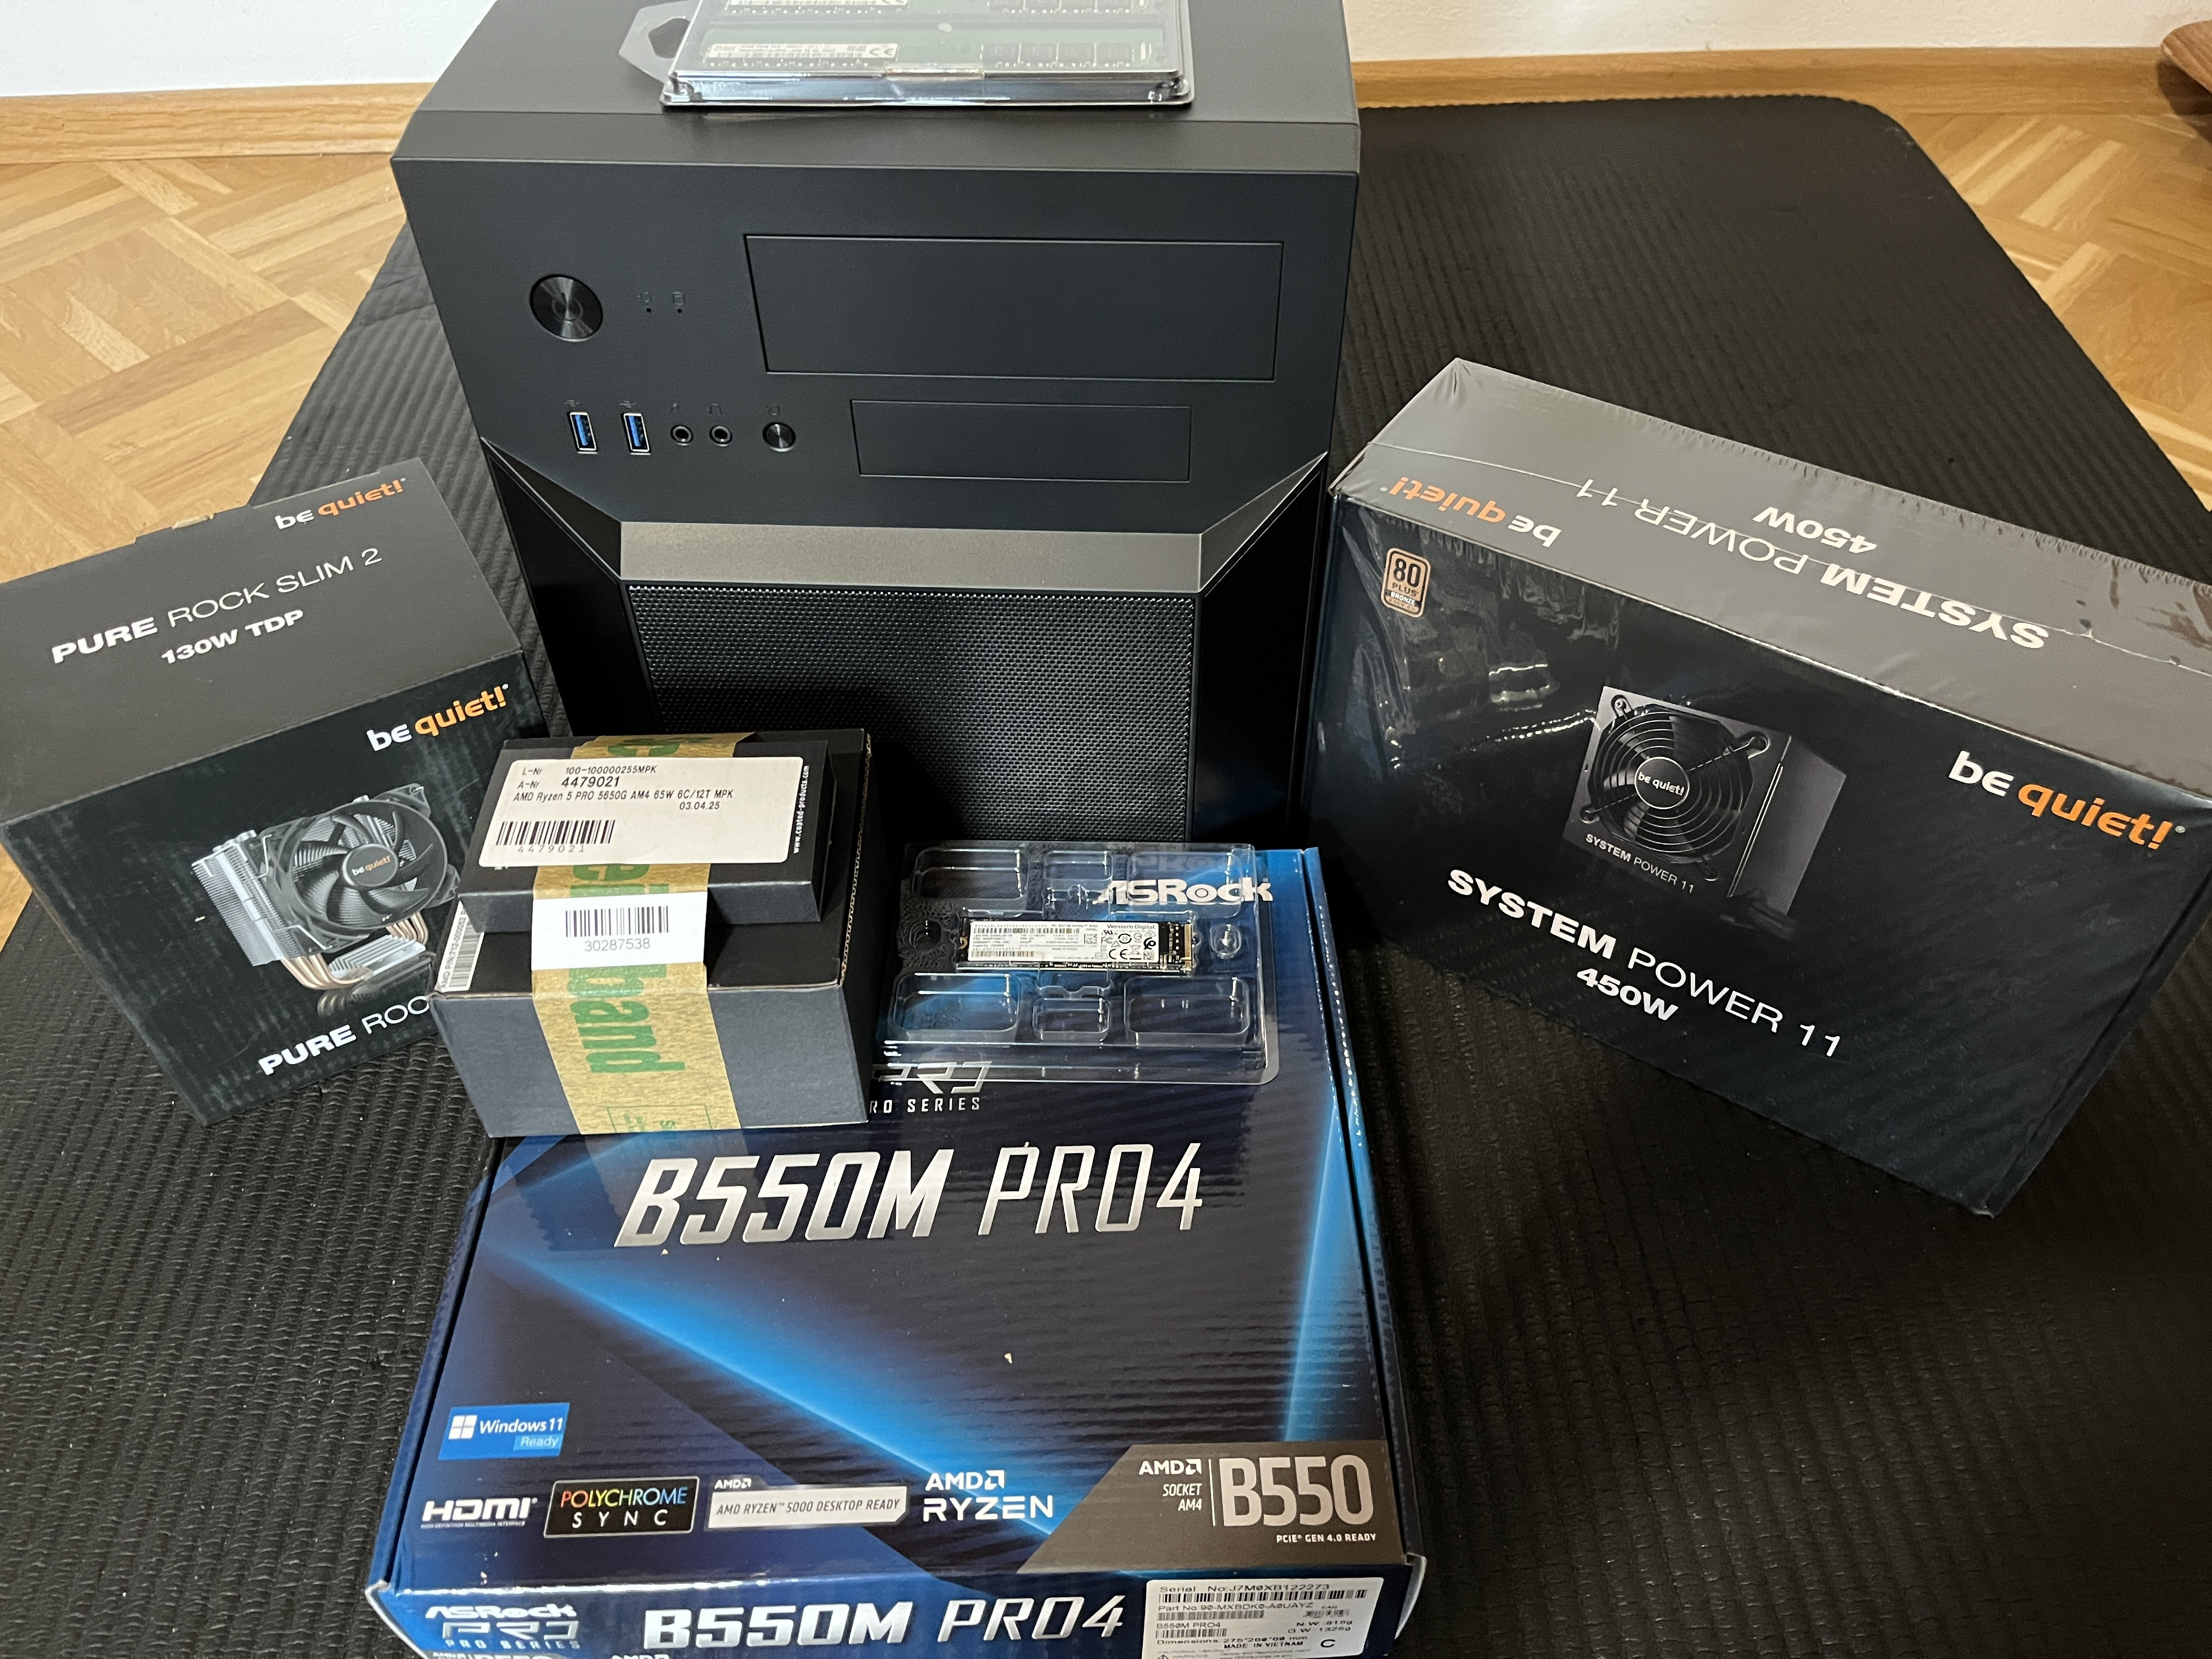
Hardware Selection
Here is the hardware I have picked and what I paid for it (to cry about it later :D):
| Component | Model | Price |
|---|---|---|
| CPU | AMD Ryzen 5 PRO 5650G 3.9GHz 16MB L3 | 334.58 € |
| CPU Cooler | be quiet! Pure Rock Slim 2 | 23.90 € |
| Mainboard | ASRock B550M Pro4 | 88.90 € |
| RAM | 2x Hynix 32GB DDR4 2933 MT/s PC4-2933Y-E UDIMM ECC | 289 € each |
| Storage | 2x Crucial BX500 4TB 3D NAND SATA 2.5-Inch Internal SSD | 380 € each |
| Case | Chieftec CI-02B-OP | 39.90 € |
| Power Supply | be quiet! System Power 11 450W ATX3.1 | 49.90 € |
I gave my notebook a bigger SSD (Lexar EQ790 2TB SSD M.2 2280 PCIe Gen4x4 NVMe 1.4 for 230 €) and I’m using the old 1 TB SSD from my Thinkpad T14 as the system drive.
Why ECC RAM?
I decided to use ECC RAM because I will be running Nextcloud with important personal data (photos, videos, etc.), and I want to reduce the risk of file corruption. Because of the current RAM shortage, I went with DDR4 instead of DDR5, as I could still find some more or less affordable UDIMM ECC RAM.
From there, I selected a mainboard and CPU that support ECC RAM, which was not as easy as I had hoped, but I found some reports on working setups. I picked a Ryzen 5 PRO CPU because I wanted a CPU with an APU, and only the PRO versions support ECC RAM.
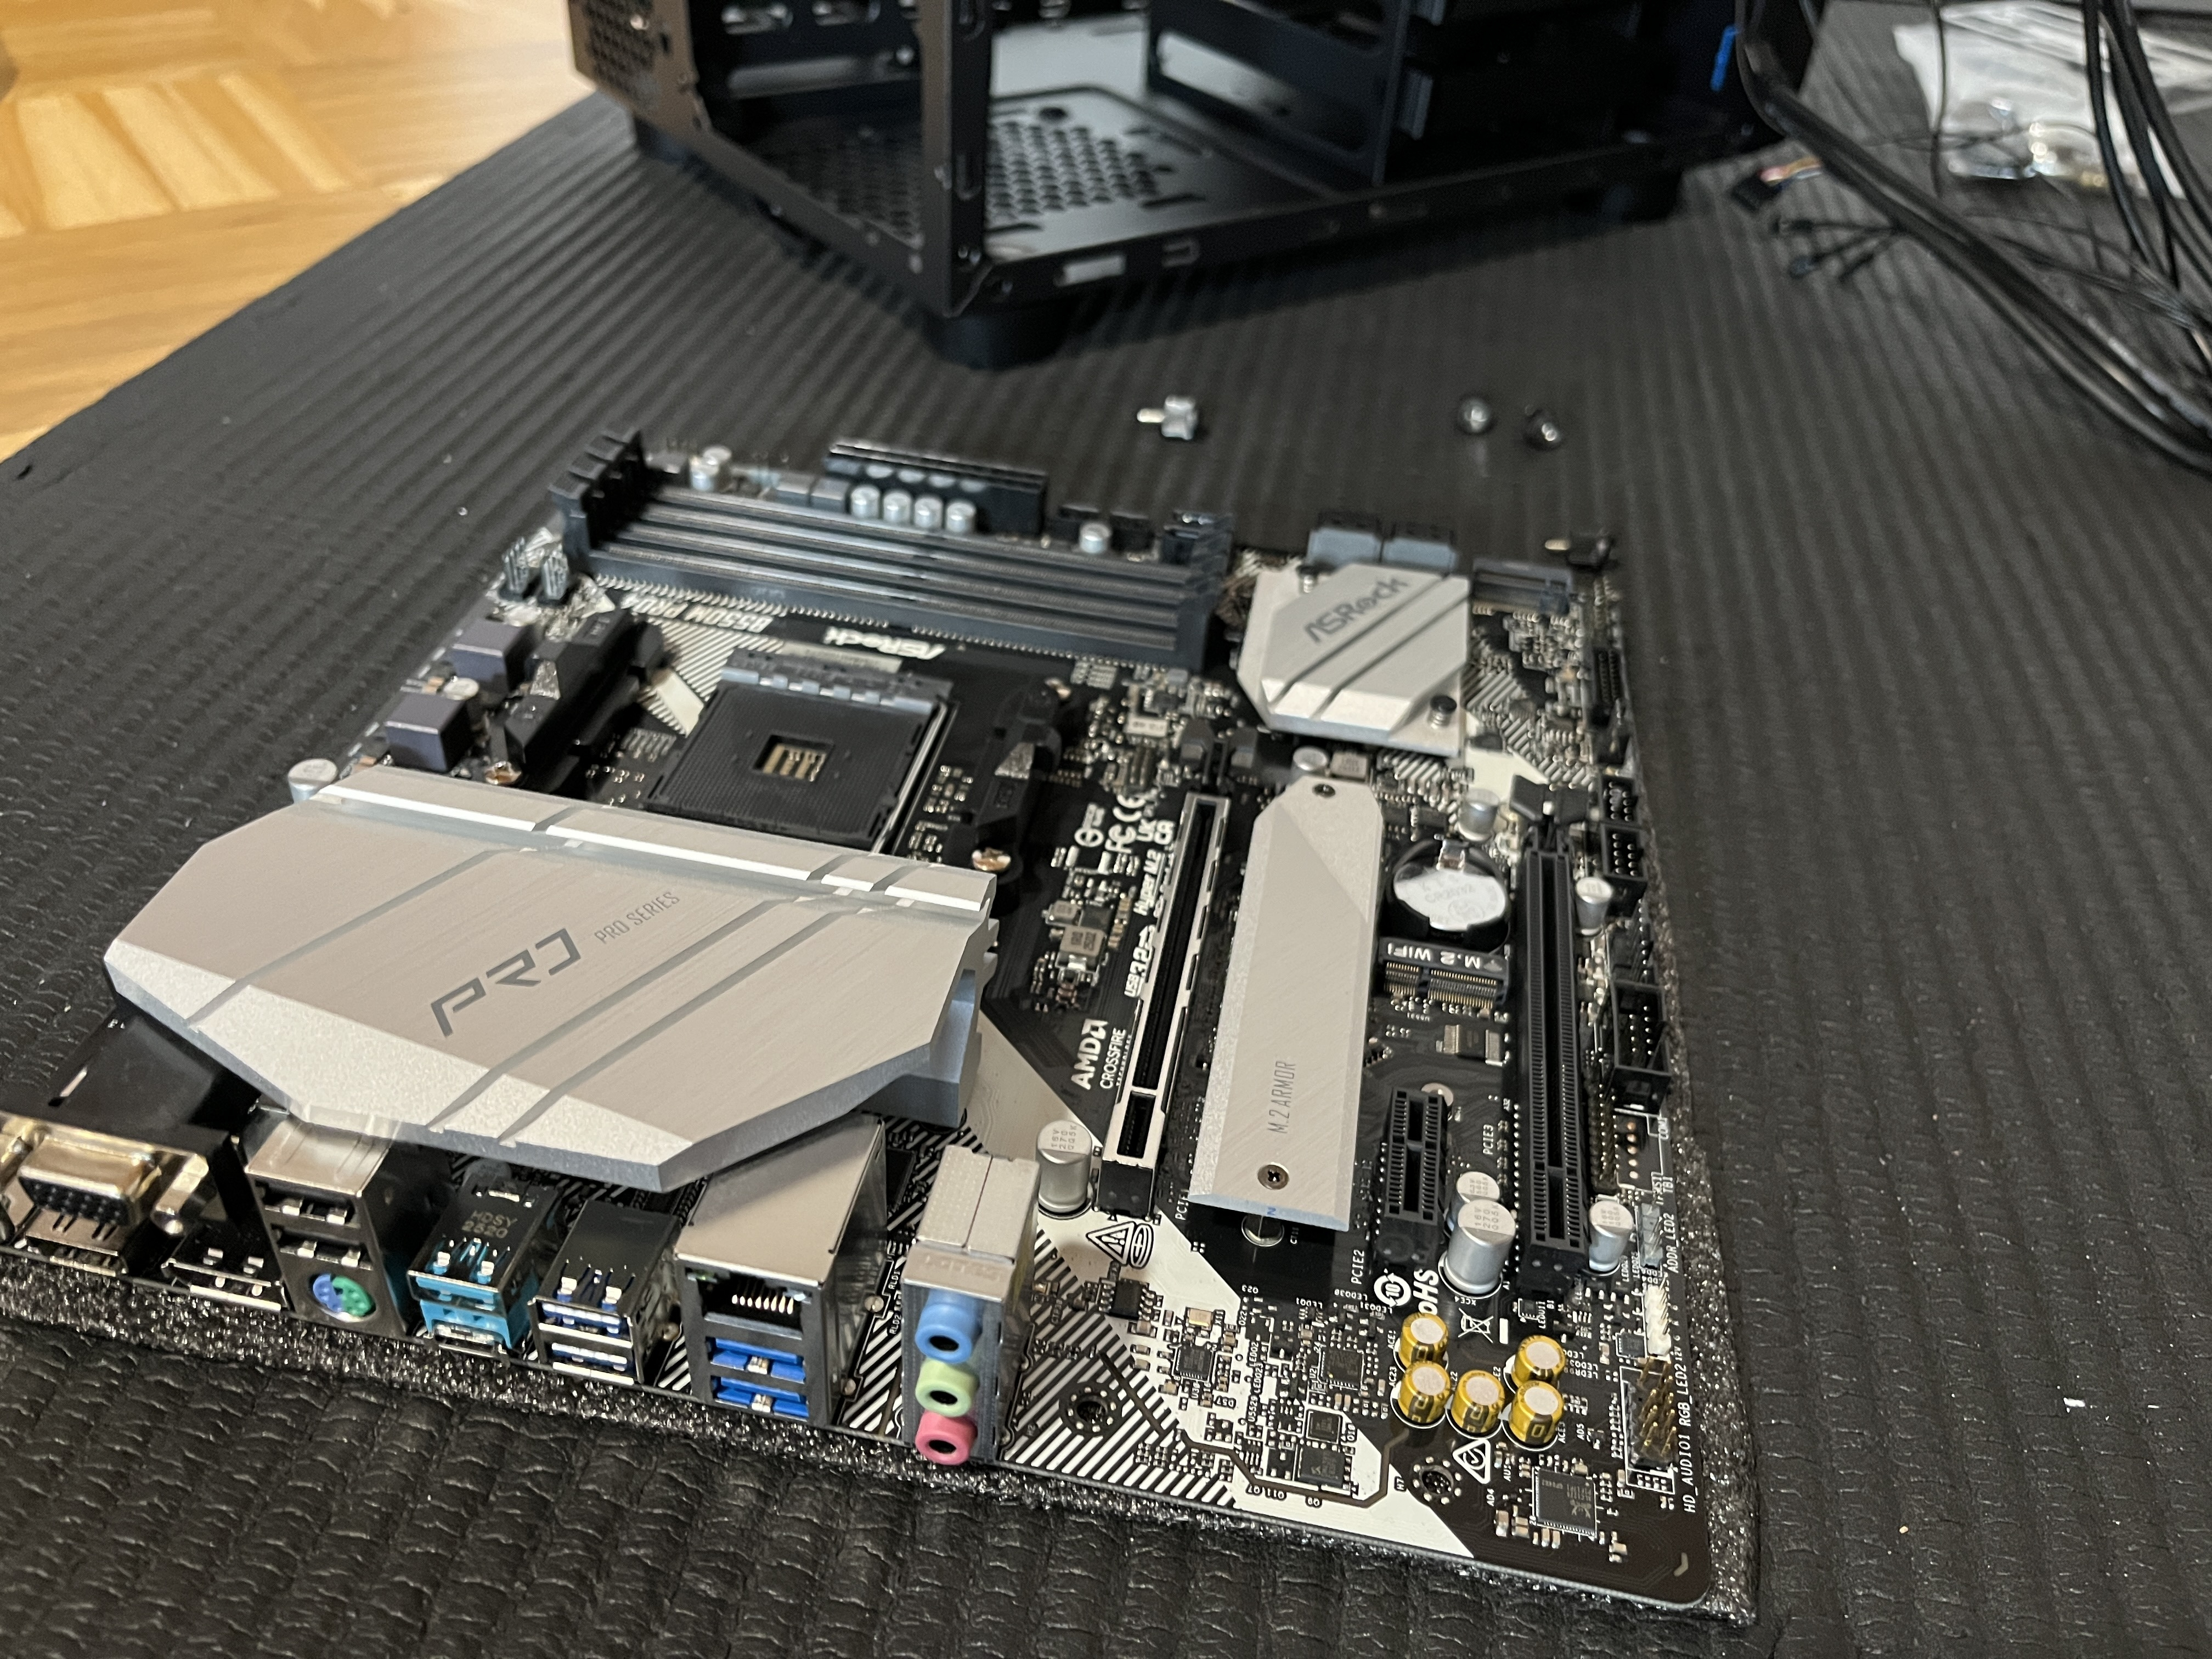
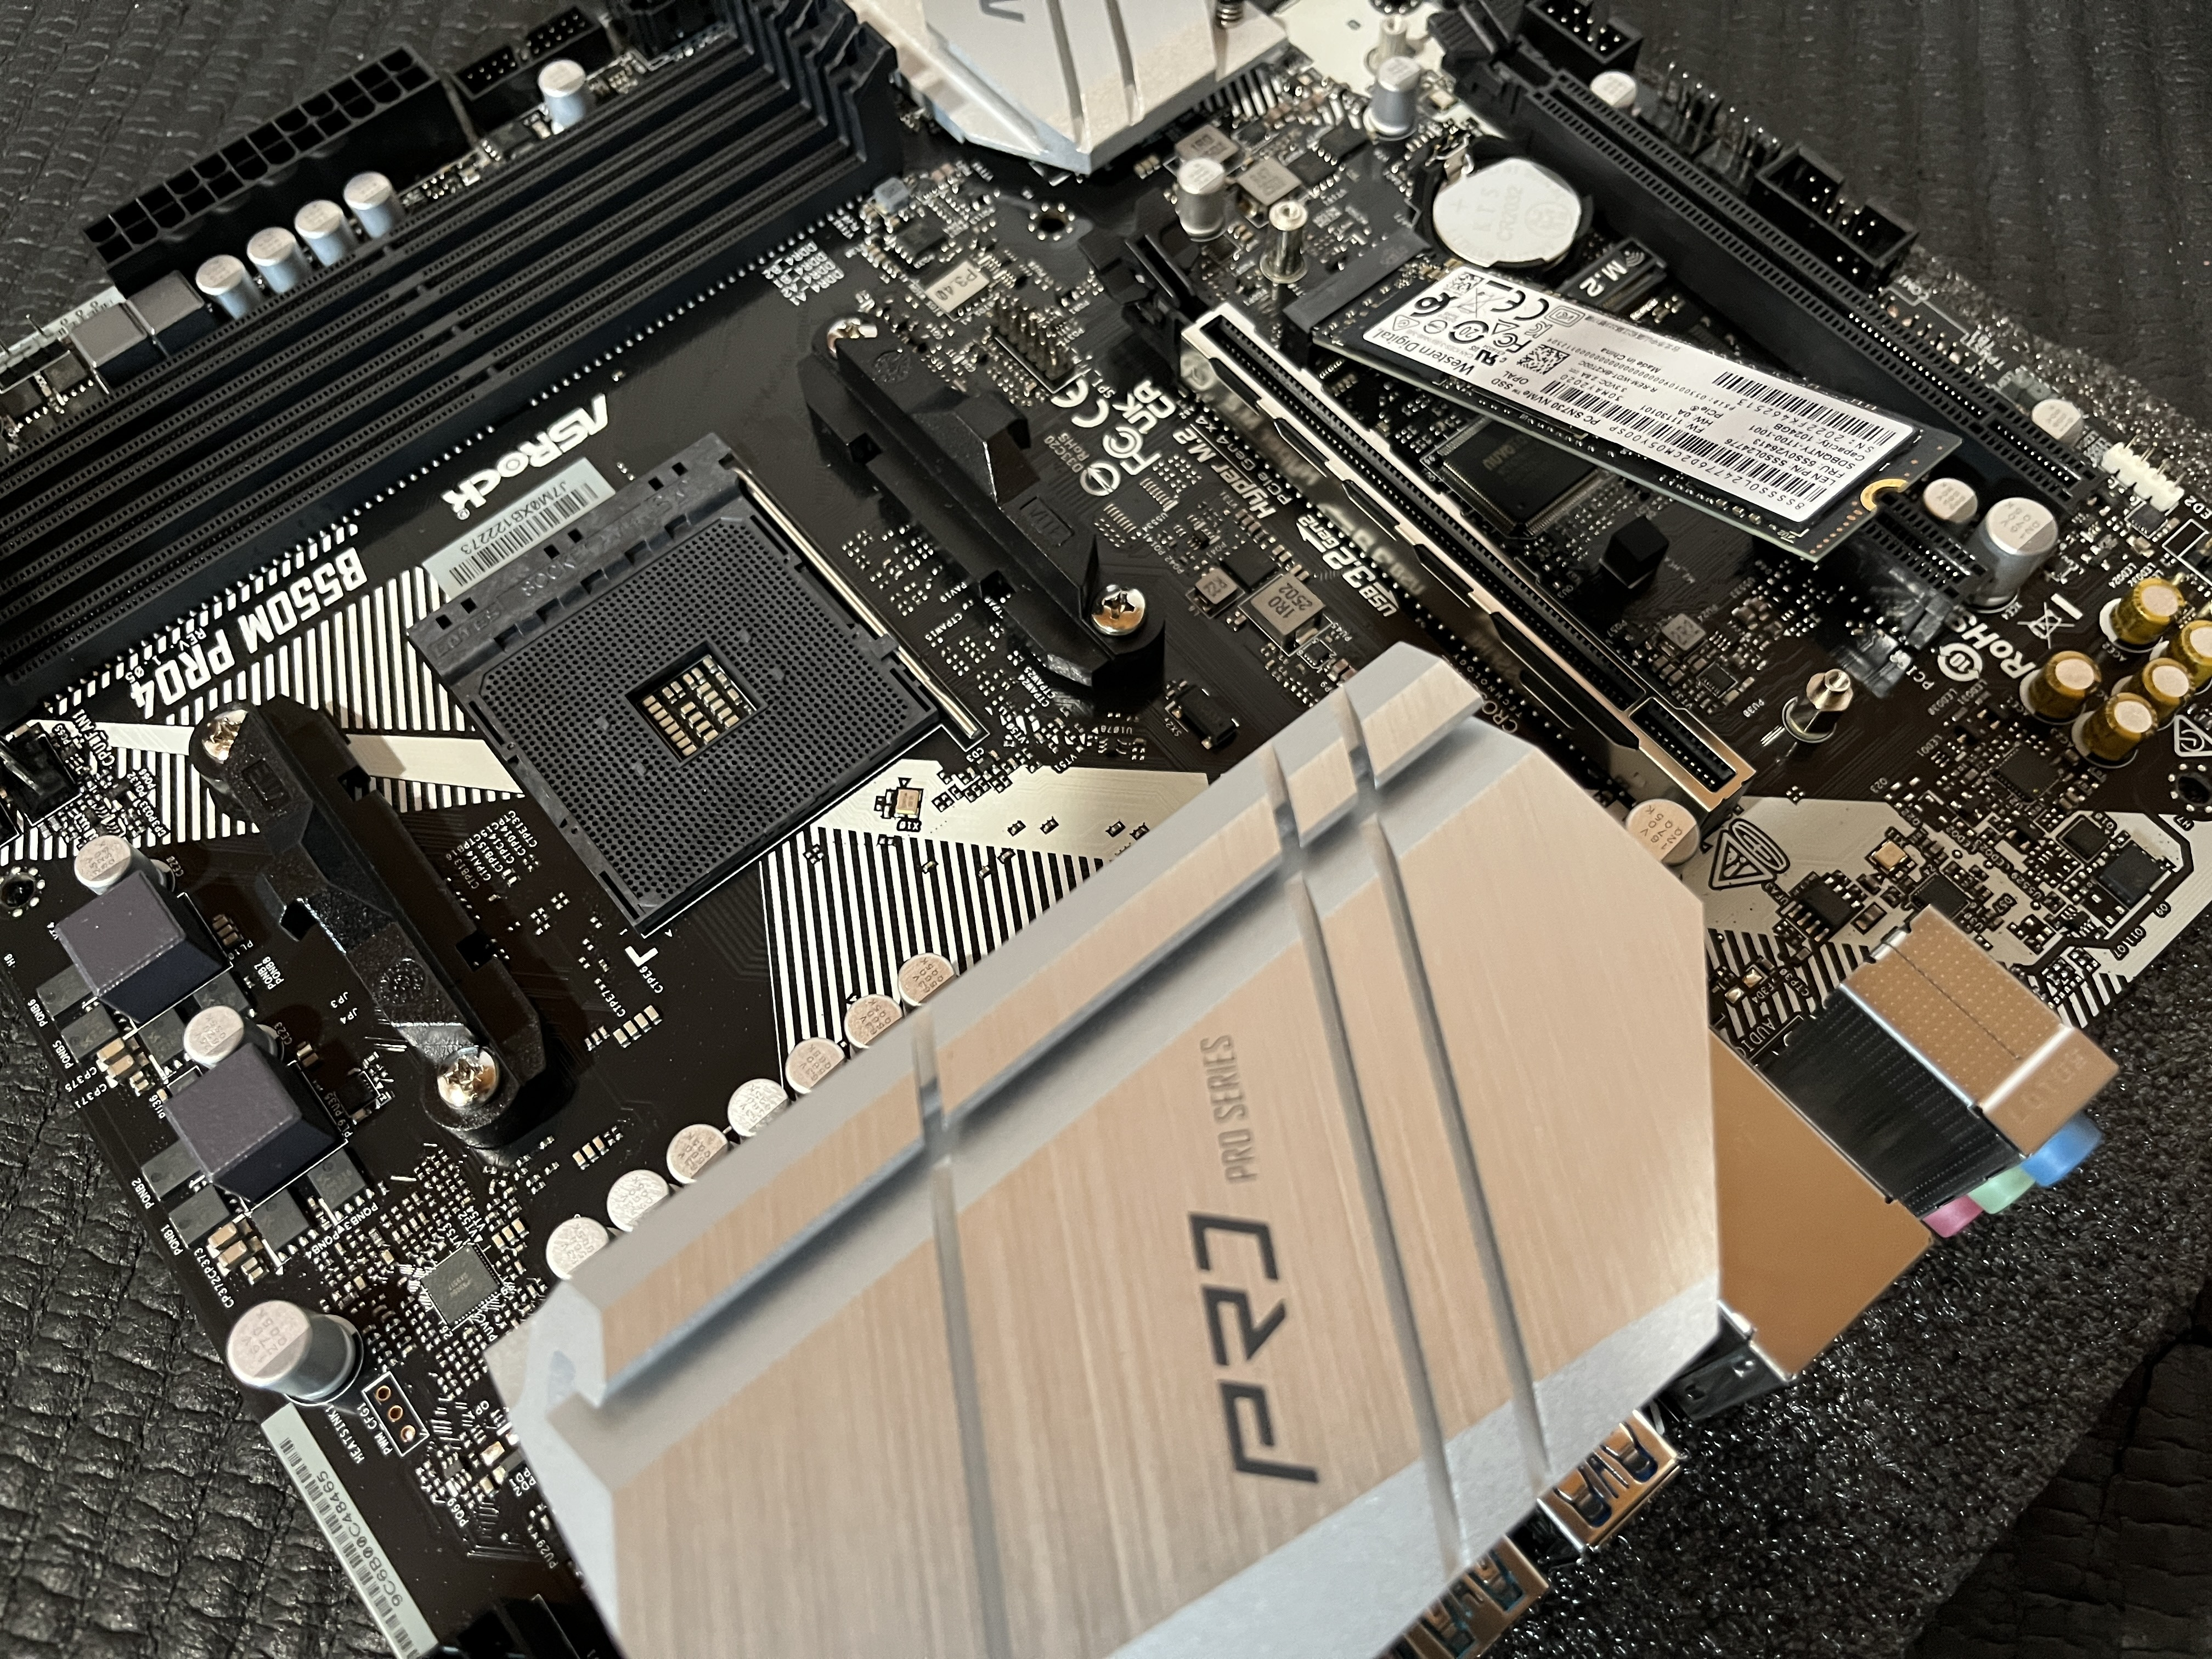
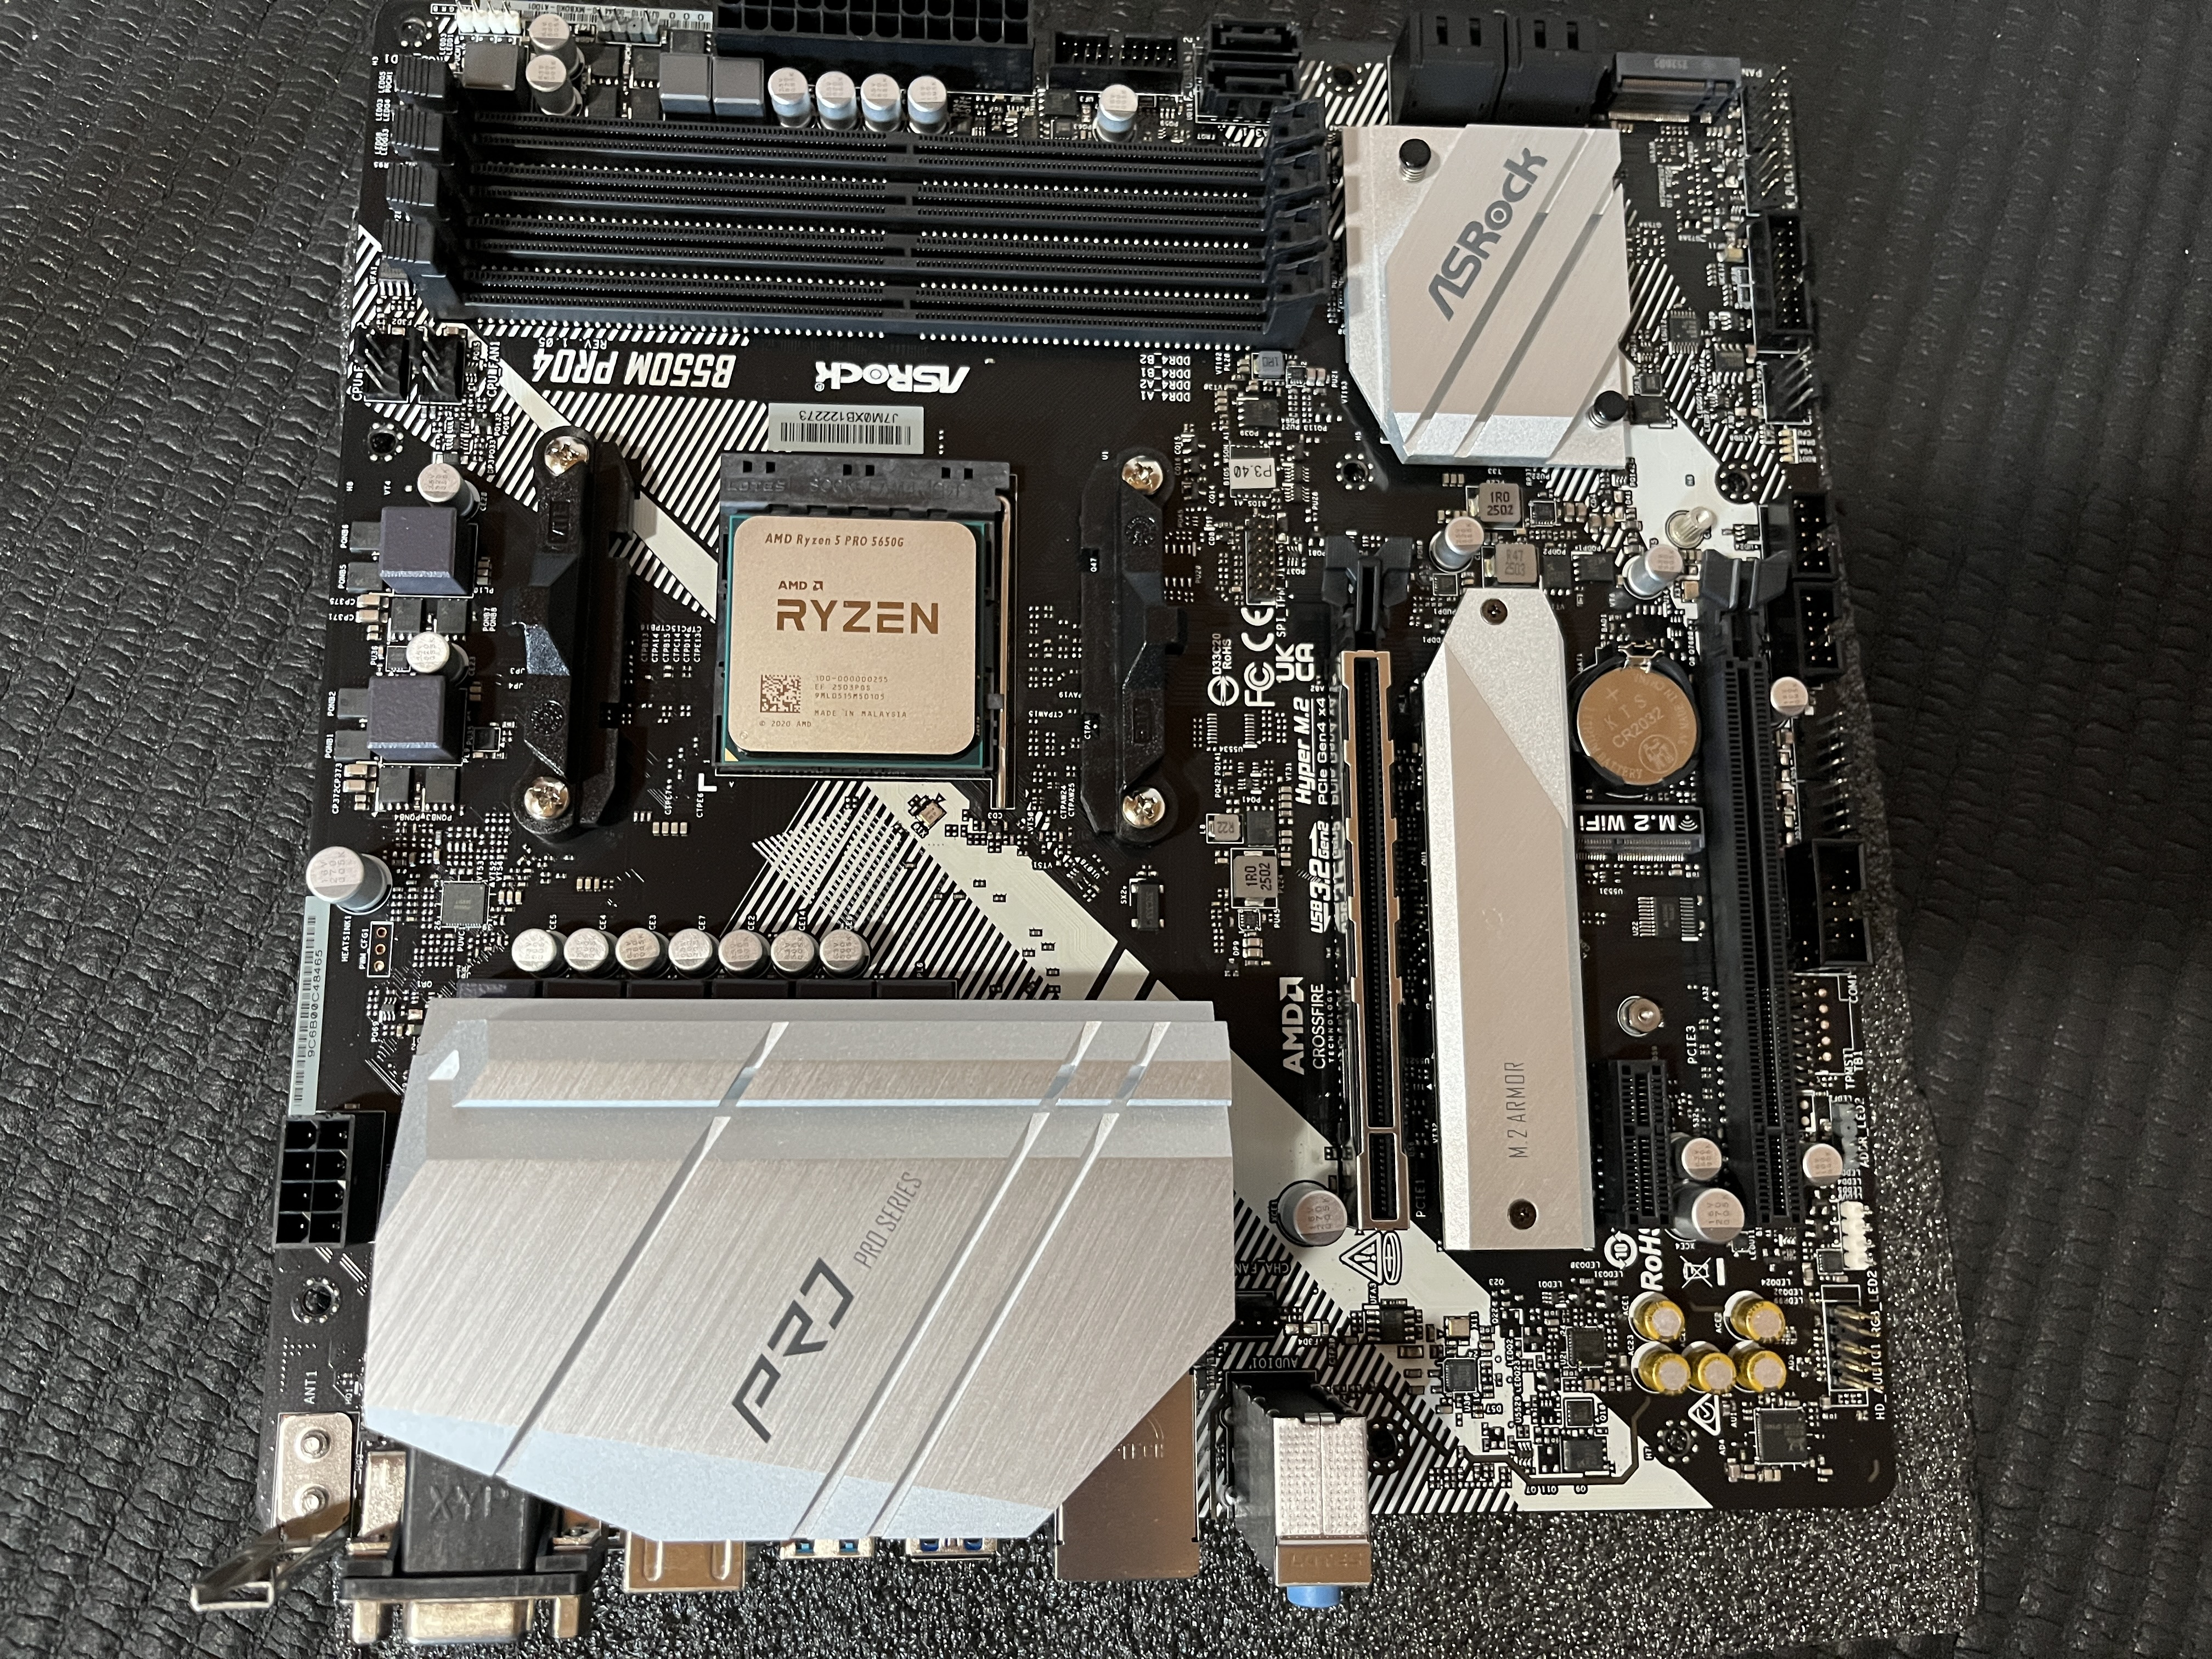
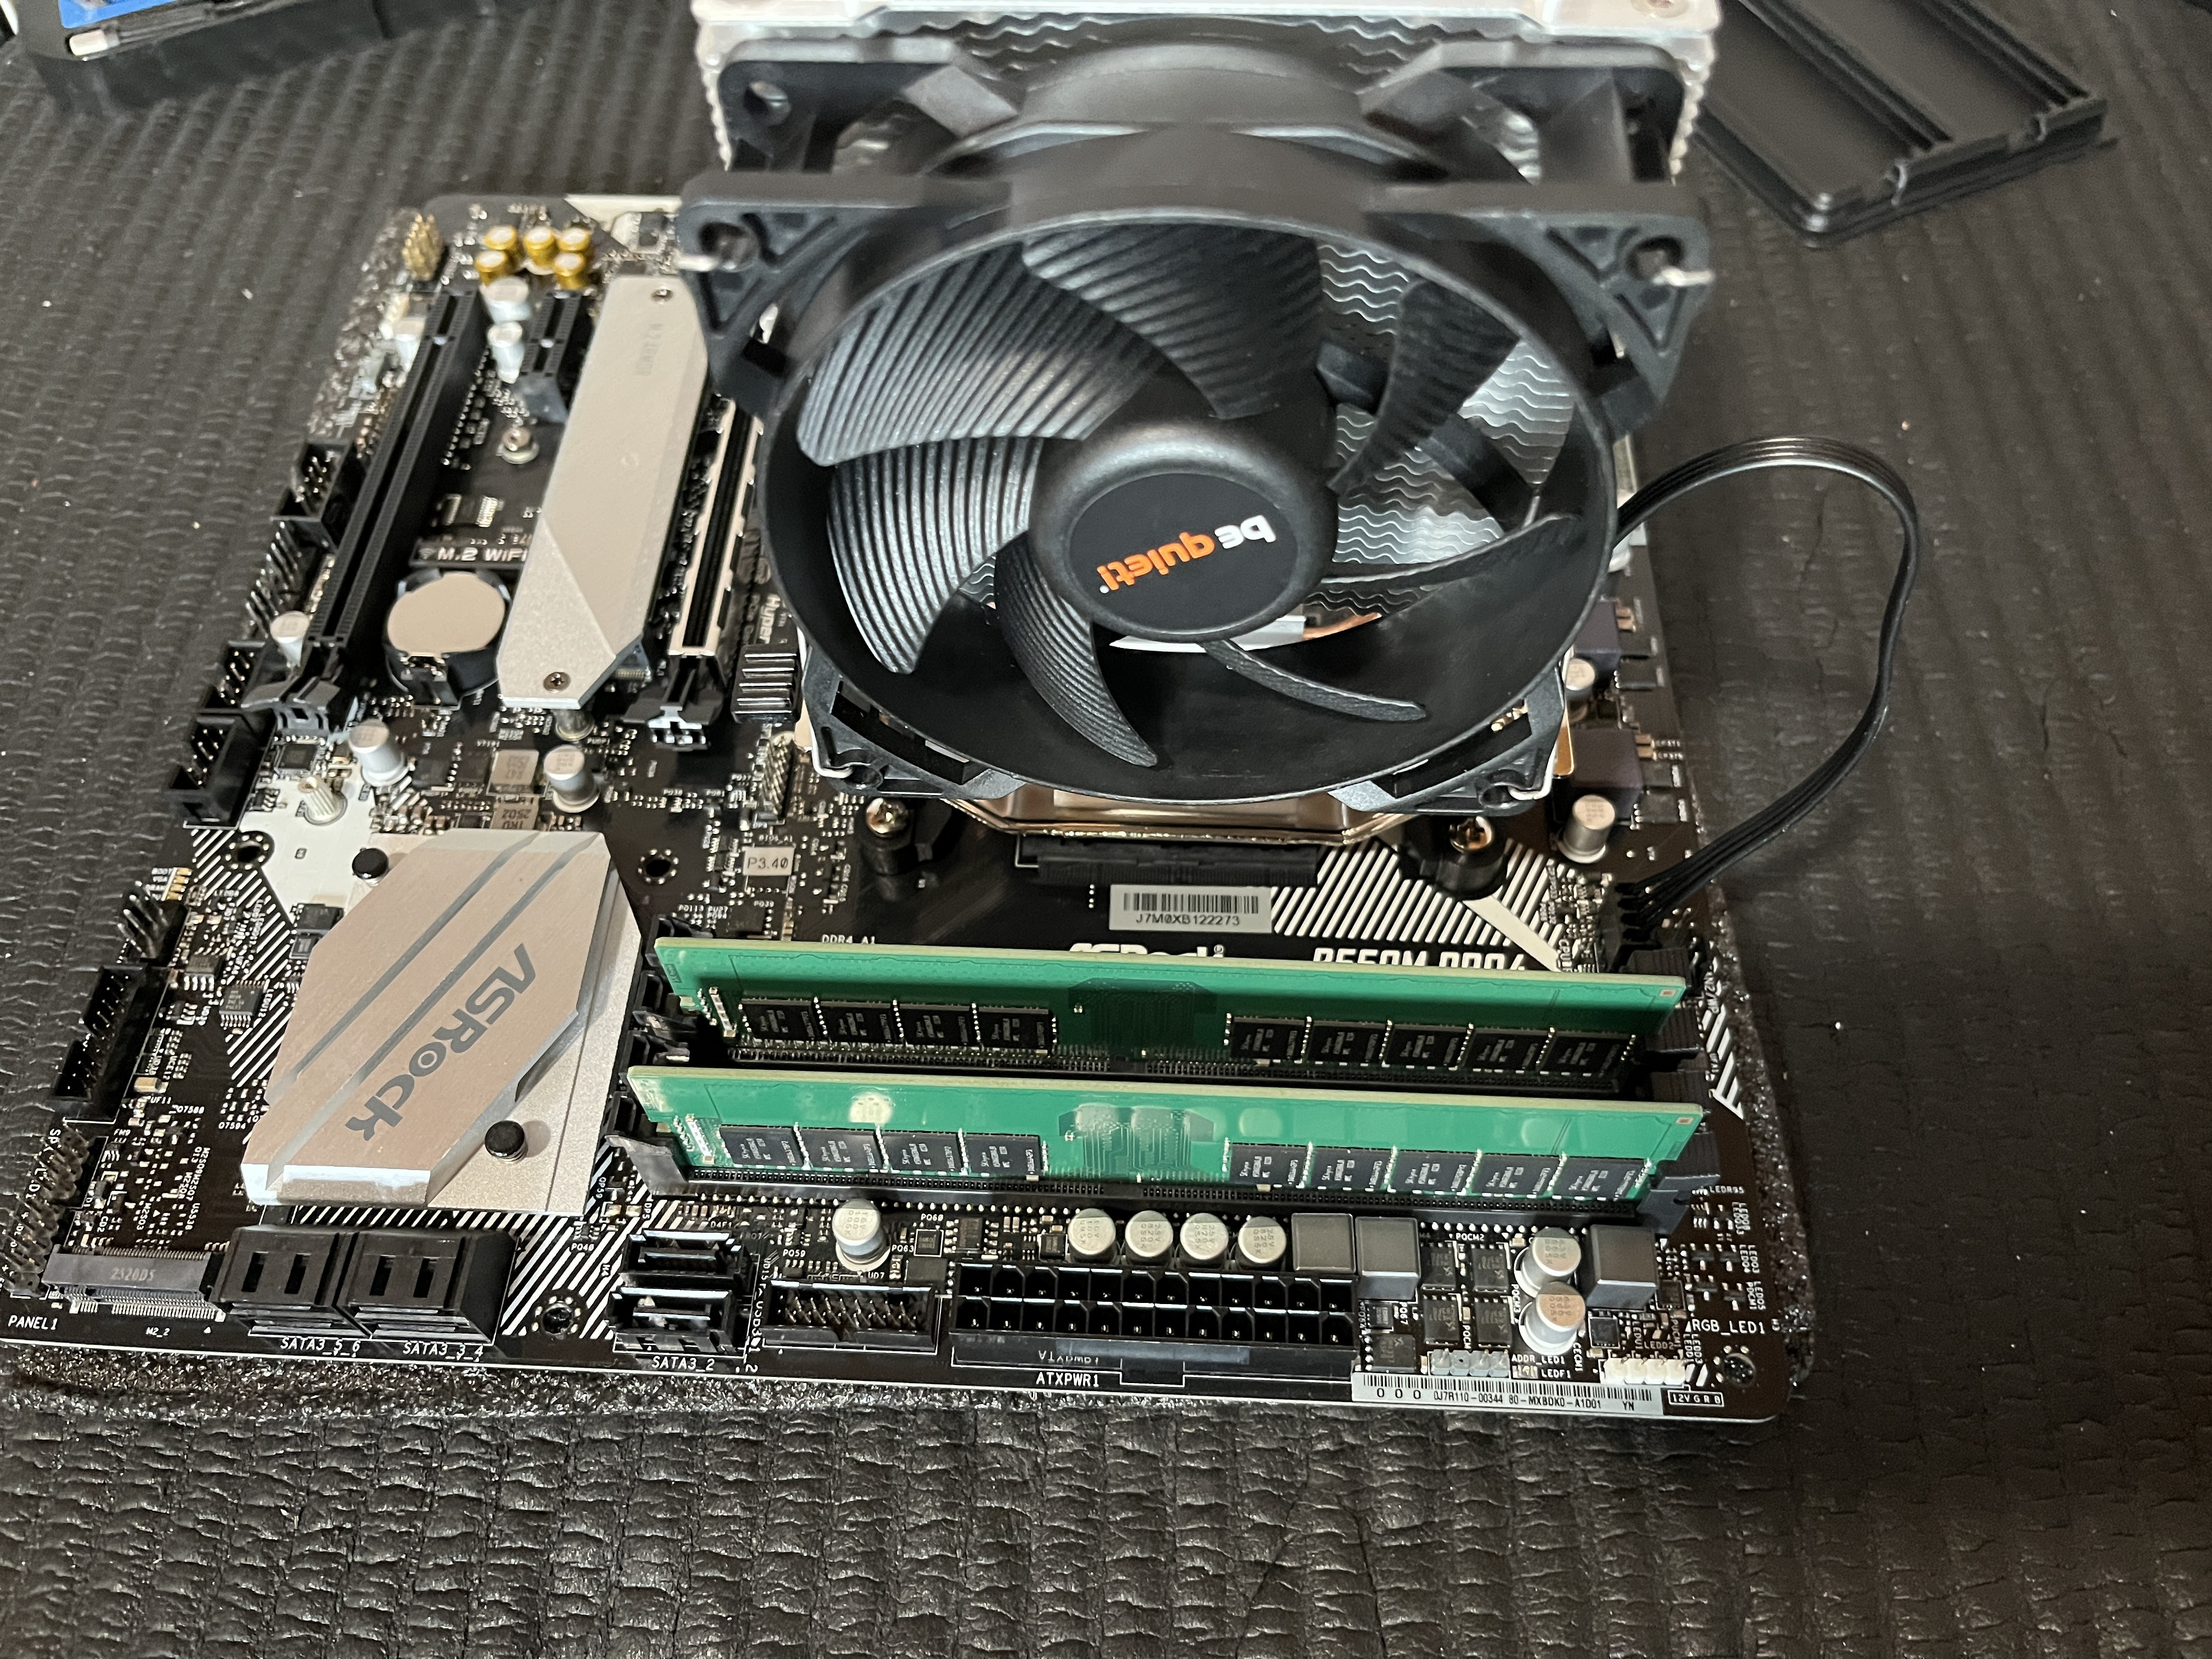
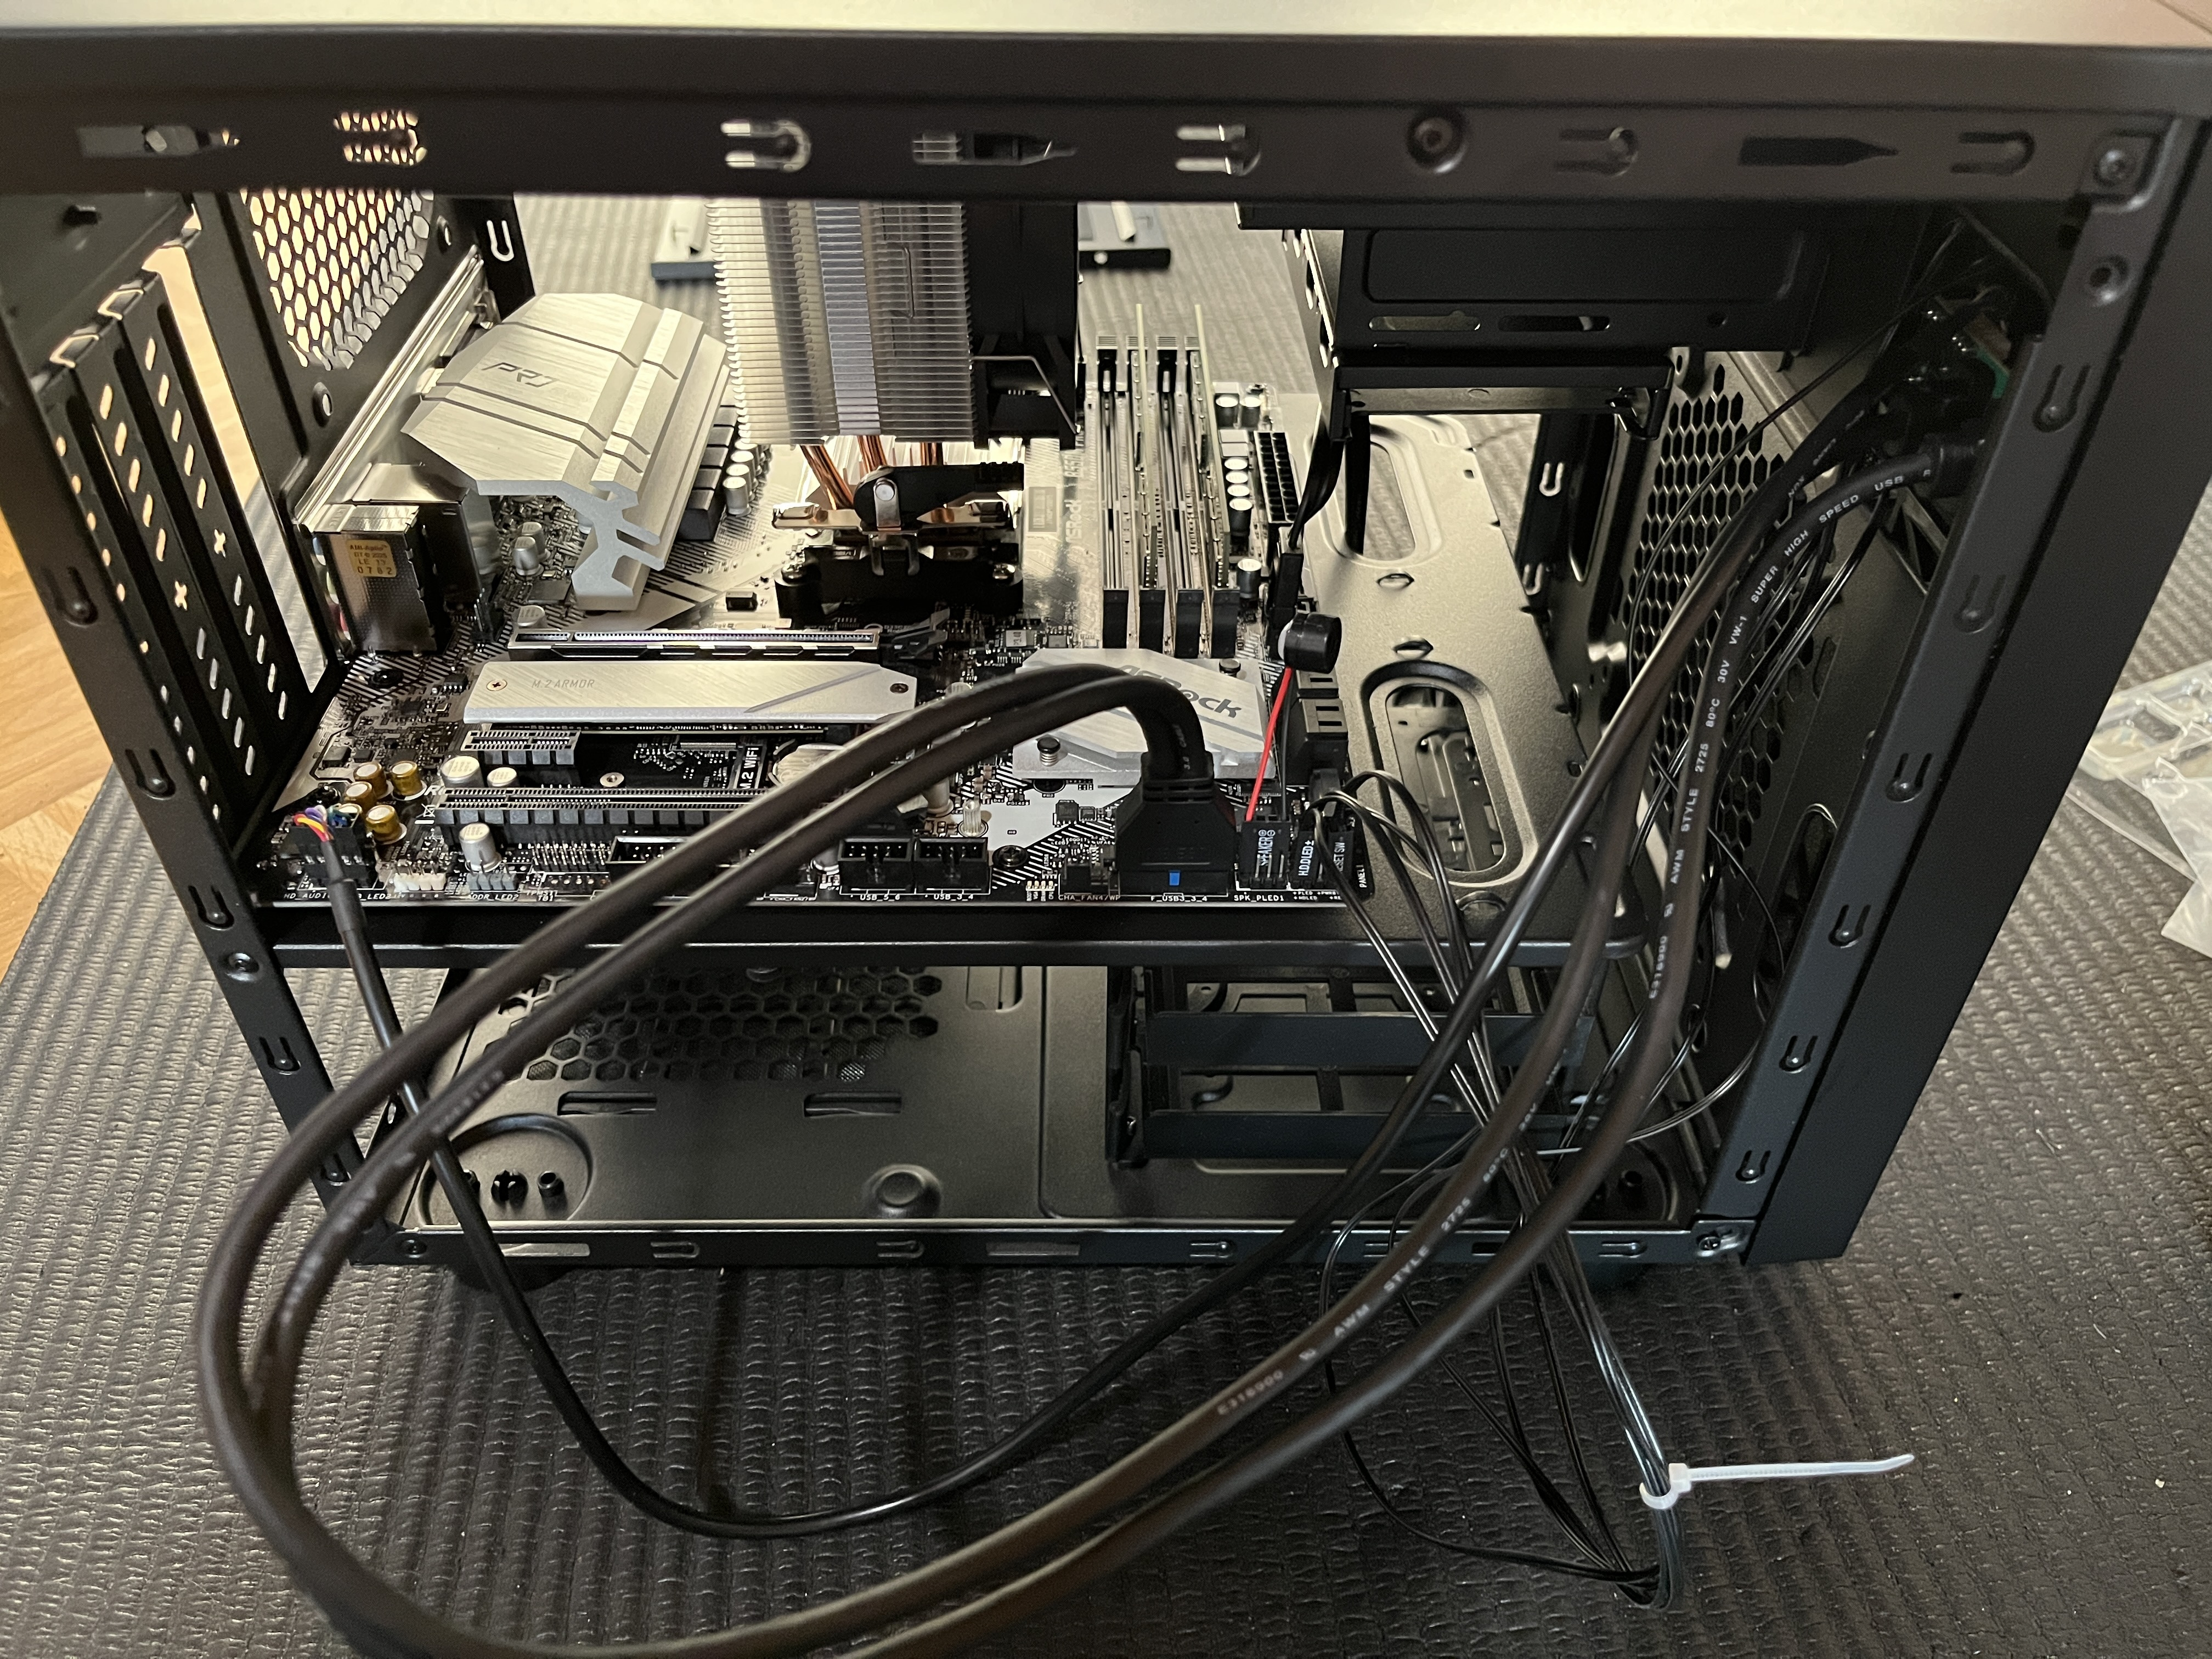
Assembly
Here are some pictures of the assembly:

ECC Verification
I have used Memtest86 to verify the ECC RAM is correctly detected. The Pro version supports a feature to inject errors so you can test whether these errors are detected and corrected. At the time of writing, I don’t own a Pro version, and I just trust it works as intended.
To verify ECC in Linux I booted into Proxmox and first used dmidecode to check the hardware support:
root@proxmox:~# dmidecode | grep -A5 "Physical Memory Array\|Memory Device\|Error Correction Type"
Output:
Physical Memory Array
        Location: System Board Or Motherboard
        Use: System Memory
        **Error Correction Type: Multi-bit ECC**
        Maximum Capacity: 128 GB
        Error Information Handle: 0x000F
        Number Of Devices: 4

Handle 0x0011, DMI type 19, 31 bytes
--
        **Error Correction Type: Multi-bit ECC**
        System Type: Unified
        Associativity: 8-way Set-associative

Handle 0x0013, DMI type 7, 27 bytes
Cache Information
--
        **Error Correction Type: Multi-bit ECC**
        System Type: Unified
        Associativity: 8-way Set-associative

--
Memory Device
        Array Handle: 0x0010
        Error Information Handle: 0x0016
        Total Width: Unknown
        Data Width: Unknown
        Size: No Module Installed
--
Memory Device
        Array Handle: 0x0010
        Error Information Handle: 0x0018
        **Total Width: 72 bits**
        **Data Width: 64 bits**
        **Size: 32 GB**
--
Memory Device
        Array Handle: 0x0010
        Error Information Handle: 0x001B
        Total Width: Unknown
        Data Width: Unknown
        Size: No Module Installed
--
Memory Device
        Array Handle: 0x0010
        Error Information Handle: 0x001D
        **Total Width: 72 bits**
        **Data Width: 64 bits**
        **Size: 32 GB**
The output Error Correction Type: Multi-bit ECC confirms that the motherboard and CPU support ECC. The output Total Width: 72 bits and Data Width: 64 bits indicates that the installed RAM modules are ECC-capable, as the 72-bit width includes 64 bits for data and 8 bits for ECC parity.
Then I used dmesg to verify Linux Kernel support:
root@proxmox:~# dmesg | grep -i "ECC\|EDAC\|mce"
Output:
[    0.426997] **EDAC MC: Ver: 3.0.0**
[    4.507588] **MCE: In-kernel MCE decoding enabled.**
[    4.509209] **EDAC MC0: Giving out device to module amd64_edac controller F19h_M50h: DEV 0000:00:18.3 (INTERRUPT)**
[    4.509212] **EDAC amd64: F19h_M50h detected (node 0).**
[    4.509213] EDAC MC: UMC0 chip selects:
[    4.509215] **EDAC amd64: MC: 0:     0MB 1:     0MB**
[    4.509216] **EDAC amd64: MC: 2: 16384MB 3: 16384MB**
[    4.509218] EDAC MC: UMC1 chip selects:
[    4.509219] **EDAC amd64: MC: 0:     0MB 1:     0MB**
[    4.509220] **EDAC amd64: MC: 2: 16384MB 3: 16384MB**
The output shows that EDAC (Error Detection and Correction) is detected and the correct driver for my CPU (F19h_M50h for AMD Ryzen 5 PRO 5650G) is loaded. Additionally, the line EDAC MC: UMC chip selects: … confirms that ECC is actively monitoring the RAM for errors, meaning ECC is enabled and functional on my system.
Setting cTDP to 45W and verifying the configuration
I’ve specifically selected the AMD Ryzen 5 PRO 5650G not only because of the ECC RAM support, but also because of the ability to run it with 45W cTDP-down. To enable that I went to the BIOS and under “Advanced → AMD CBS → NBIO Common Options → SMU Common Options → System Configuration AM4” I have selected “45W COMMERCIAL and CONSUMER - SYSTEM CONFIG 2”.
To verify the new cTDP I booted into the Proxmox installation and built the tool RyzenAdj. You can find the build instructions on the GitHub page, it is very straightforward. After successfully building it, I have verified the new cTDP:
root@proxmox:~/RyzenAdj/build# ./ryzenadj --info
no compatible ryzen_smu kernel module found, fallback to /dev/mem
CPU Family: Cezanne
SMU BIOS Interface Version: 20
Version: v0.18.0
PM Table Version: 400005

| Name                | Value      | Parameter         |
| ------------------- | ---------- | ----------------- |
| STAPM LIMIT         | **45.000** | stapm-limit       |
| STAPM VALUE         | 7.644      |                   |
| PPT LIMIT FAST      | 60.800     | fast-limit        |
| PPT VALUE FAST      | 8.366      |                   |
| PPT LIMIT SLOW      | 54.000     | slow-limit        |
| PPT VALUE SLOW      | 6.693      |                   |
| StapmTimeConst      | 200.000    | stapm-time        |
| SlowPPTTimeConst    | 5.000      | slow-time         |
| PPT LIMIT APU       | 54.000     | apu-slow-limit    |
| PPT VALUE APU       | 6.693      |                   |
| TDC LIMIT VDD       | 45.000     | vrm-current       |
| TDC VALUE VDD       | 2.899      |                   |
| TDC LIMIT SOC       | 40.000     | vrmsoc-current    |
| TDC VALUE SOC       | 1.142      |                   |
| EDC LIMIT VDD       | 65.000     | vrmmax-current    |
| EDC VALUE VDD       | 65.000     |                   |
| EDC LIMIT SOC       | 60.000     | vrmsocmax-current |
| EDC VALUE SOC       | 2.710      |                   |
| THM LIMIT CORE      | 95.000     | tctl-temp         |
| THM VALUE CORE      | 32.746     |                   |
| STT LIMIT APU       | 0.000      | apu-skin-temp     |
| STT VALUE APU       | 0.000      |                   |
| STT LIMIT dGPU      | 0.000      | dgpu-skin-temp    |
| STT VALUE dGPU      | 0.000      |                   |
| CCLK Boost SETPOINT | 50.000     | power-saving /    |
| CCLK BUSY VALUE     | 12.442     | max-performance   |
Creating USB drives for Memtest86 and Proxmox
While creating the USB drives to boot Memtest86 and Proxmox, I stumbled across issues getting Memtest86 onto an old USB drive. dd, which worked fine for the Proxmox drive, for some reason got stuck and seemed to run indefinitely on the second USB drive I wanted to use for Memtest86. I suspect I was simply too impatient to wait for the sync to finish, but I found what I consider a better way using pv instead of dd with the command:
pv memtest86-usb/memtest86-usb.img -Yo /dev/sda
You get a progress bar, and the data is synced to the USB drive more regularly, so when it reaches 100%, the data has actually already been written to the drive. I had tried dd with conv=fdatasync but, unlike with pv, there was no progress and I got “stuck” after all data had been copied according to the dd progress.